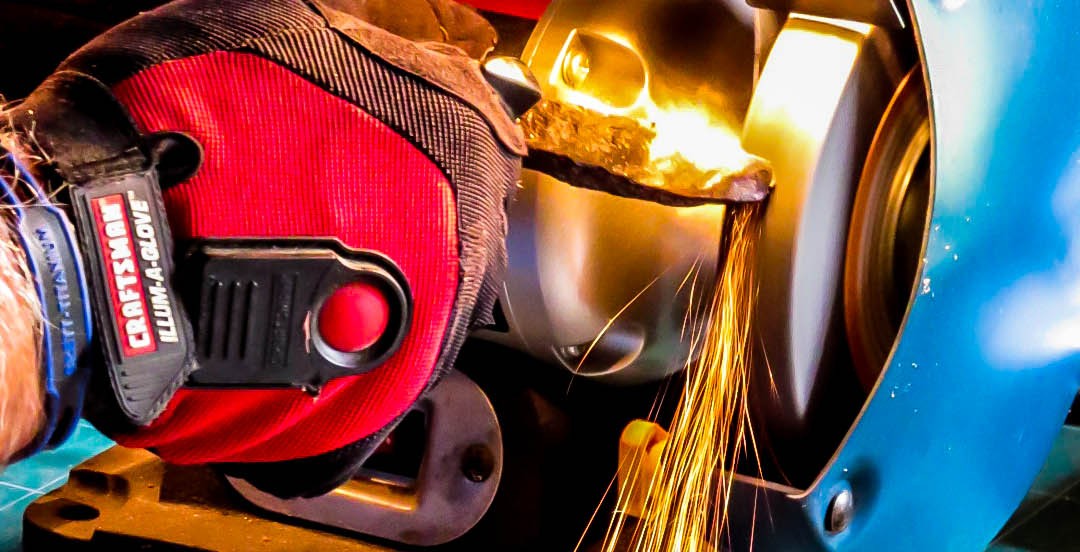

“The Shell” oyster shucking board with railroad spike oyster knife.
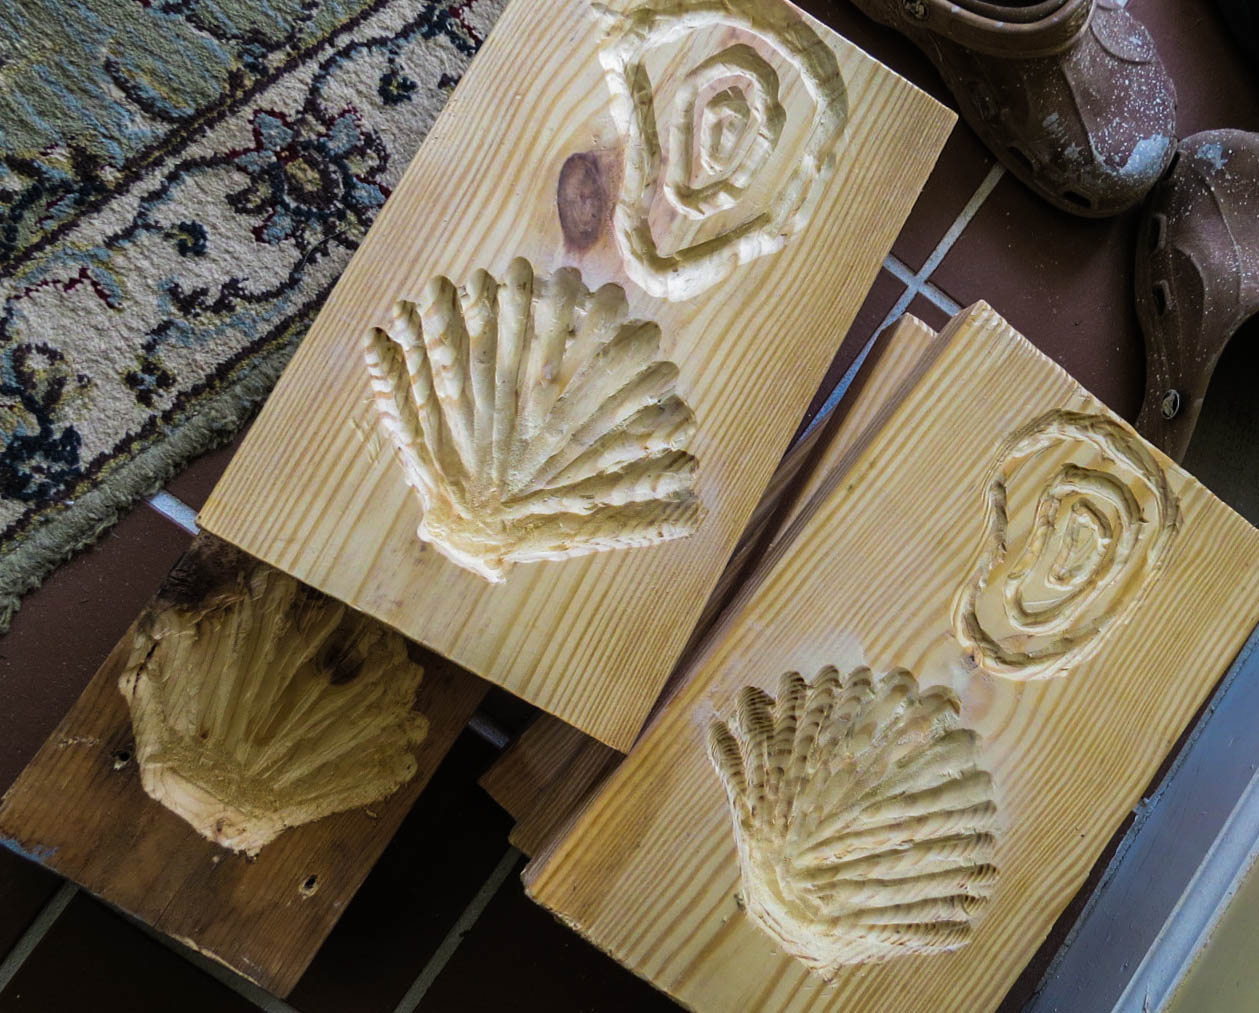
Each board is a work of art carved by hand!
First of all, there are not many shucking boards out there and this is definitely the most attractive one that I’ve seen. Technically, you don’t need a board to shuck an oyster, but nothing will ruin a party quicker than a trip to the emergency room. Check out Shucking Tips for detailed directions on how to shuck an oyster. Often the result is a messy wet counter or whatever surface. Kitchen towels and gloves soak up the oyster liquid and shell debris. The benefit of using “The Shell” is that it keeps your surface clean. Any liquid that seeps out is contained in the trough area and can be swiftly discarded somewhere out of sight. The surface is waterproof so the liquid wicks right off. The incline of the board and the reinforced lower lip helps protect your hand while you are holding  the shell down without slipping. You are less likely to accidently stick yourself with your oyster knife. The little ridges on the lower shell act an extra surface to grip the oyster in place and it’s able to accommodate even the largest of specimens. When you’re finished, “The Shell” is easy to clean. Just rinse the
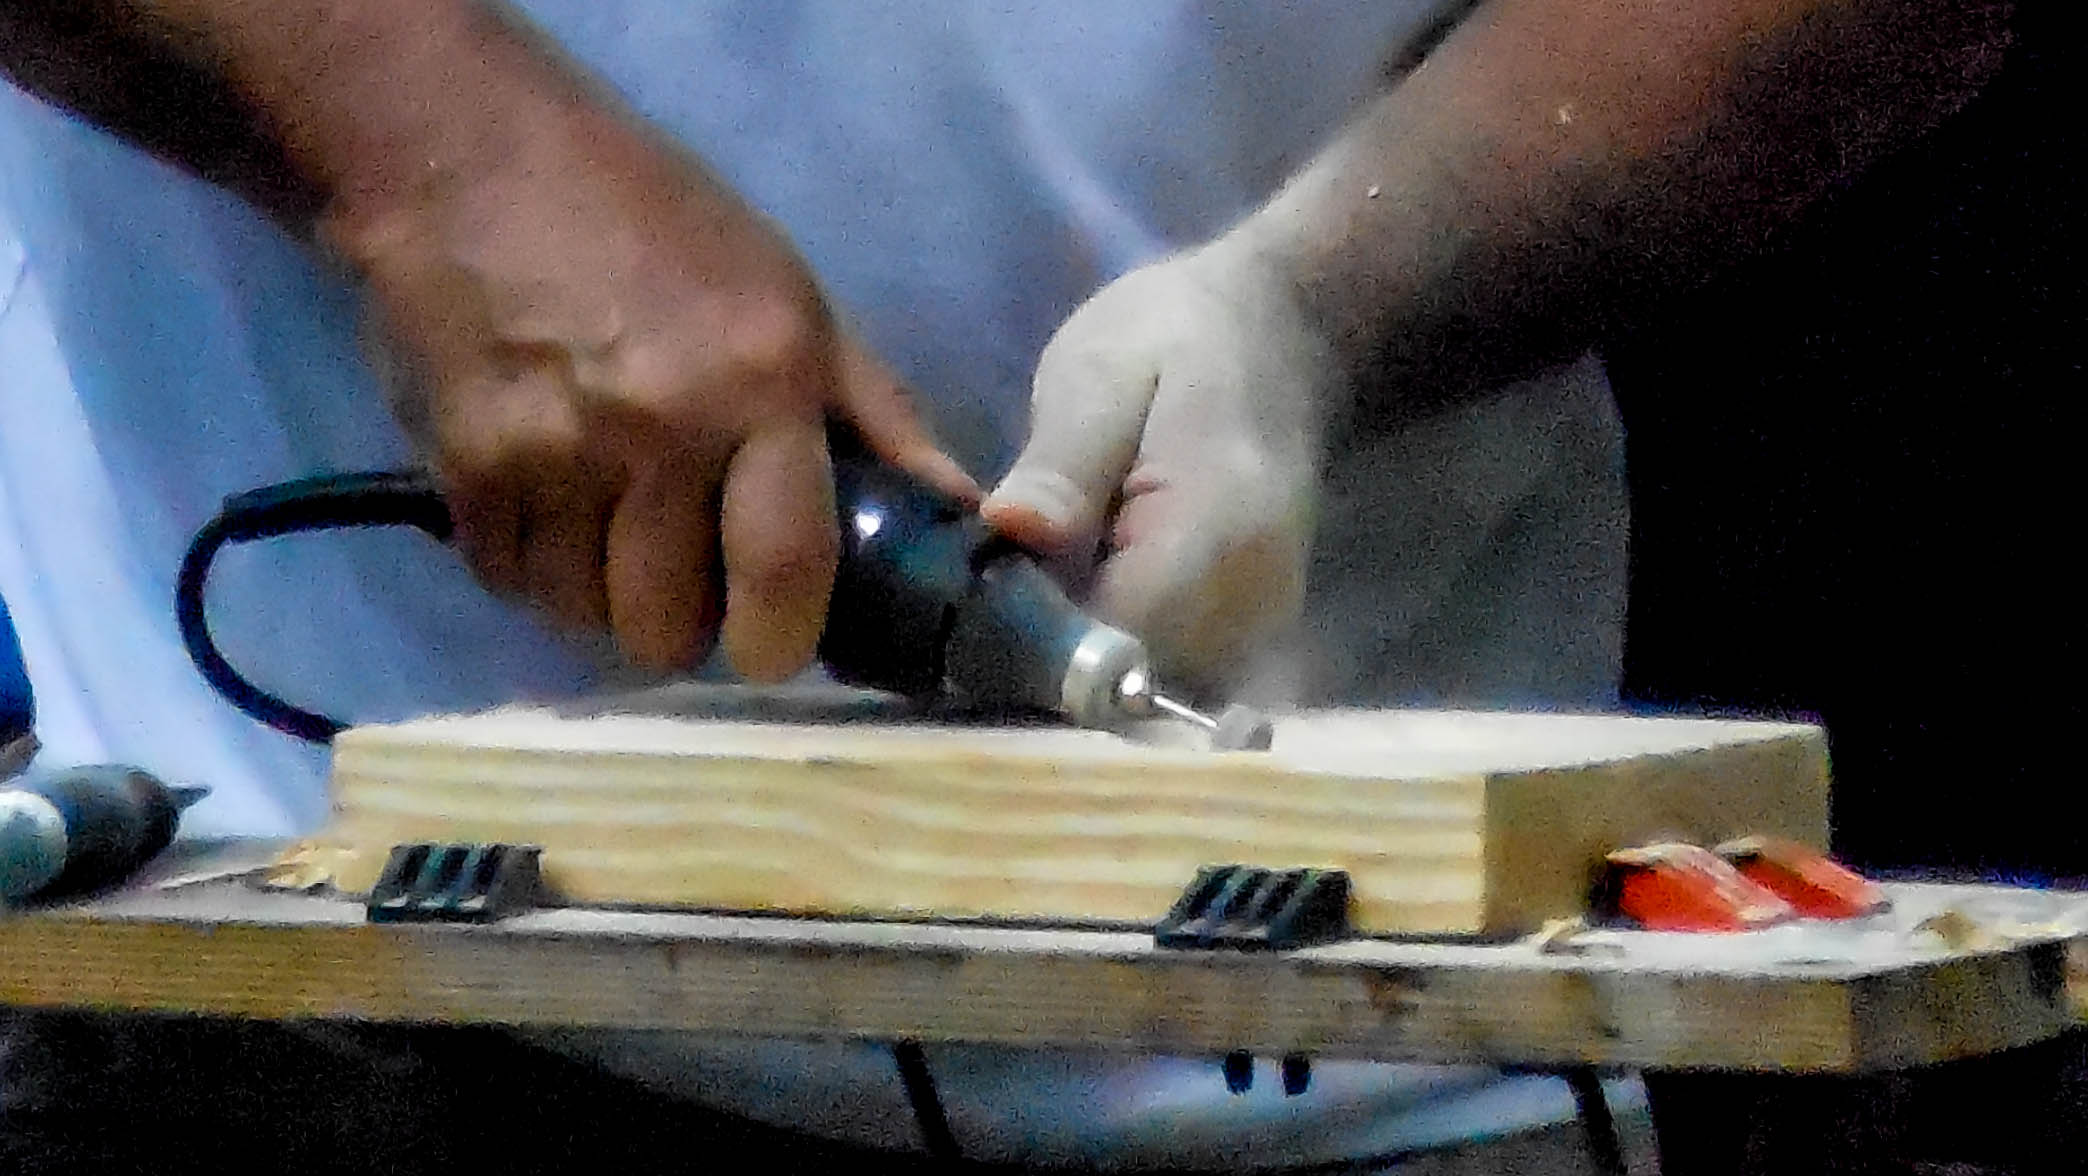 excess debris off, wash the surface with dish soap and warm water, rub down with a touch of lemon oil, dry and store for your next use. The form of the board is aesthetically pleasing; a sculpture that will endure the test of time. The board feels sturdy but also light. The surface has been sanded down and smoothed into silk. An oyster shell is a tough substance, so I did observe some wear on the ridges and middle island. It’s minor scuffing, but just wanted to note that scratches will be expected. This board is compact enough to travel easily to your next Oysterfest! Contact Gonzo for information about the shucking board at 51gonzo46@gmail.com. Click on all images to enlarge view. Disclaimer – The wood used for the boards has natural knots, grains and grooves that make each piece unique.
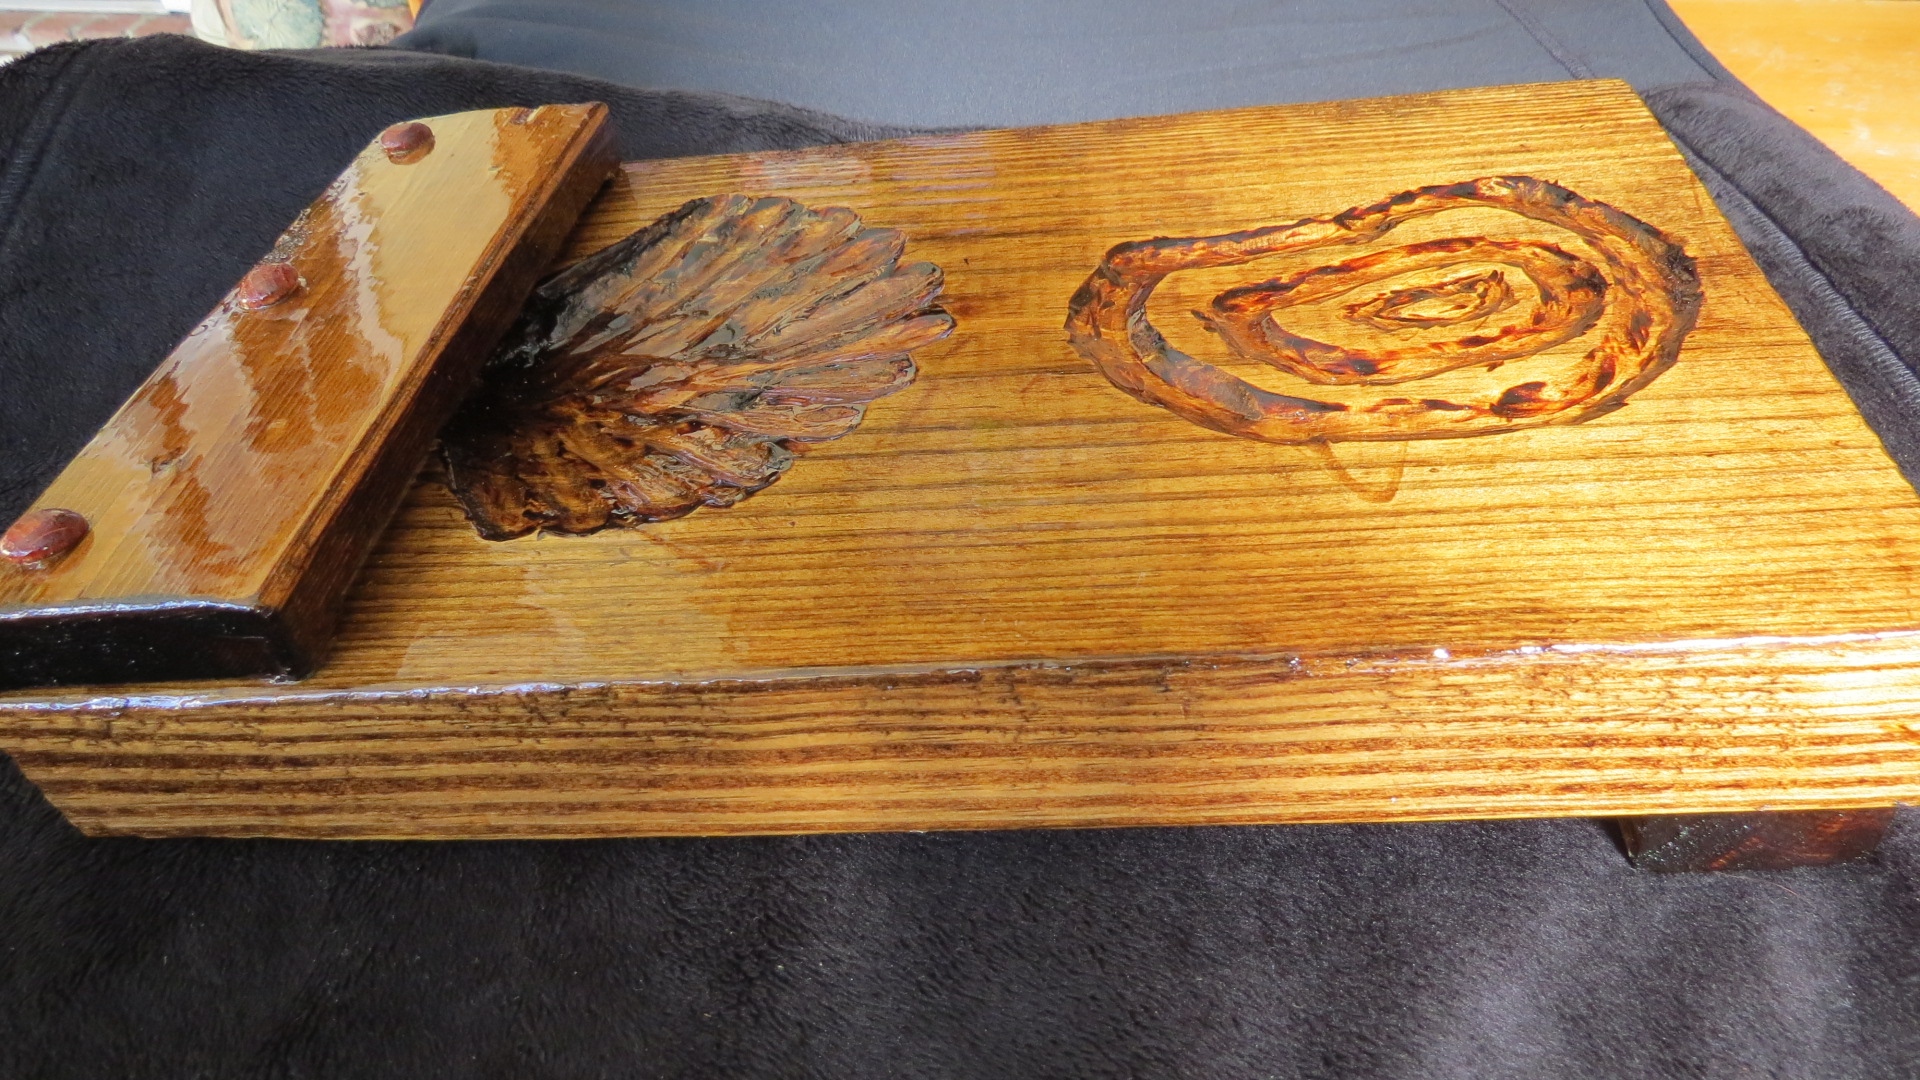
Note the angle of the board which can attach securely to the edge of your table.
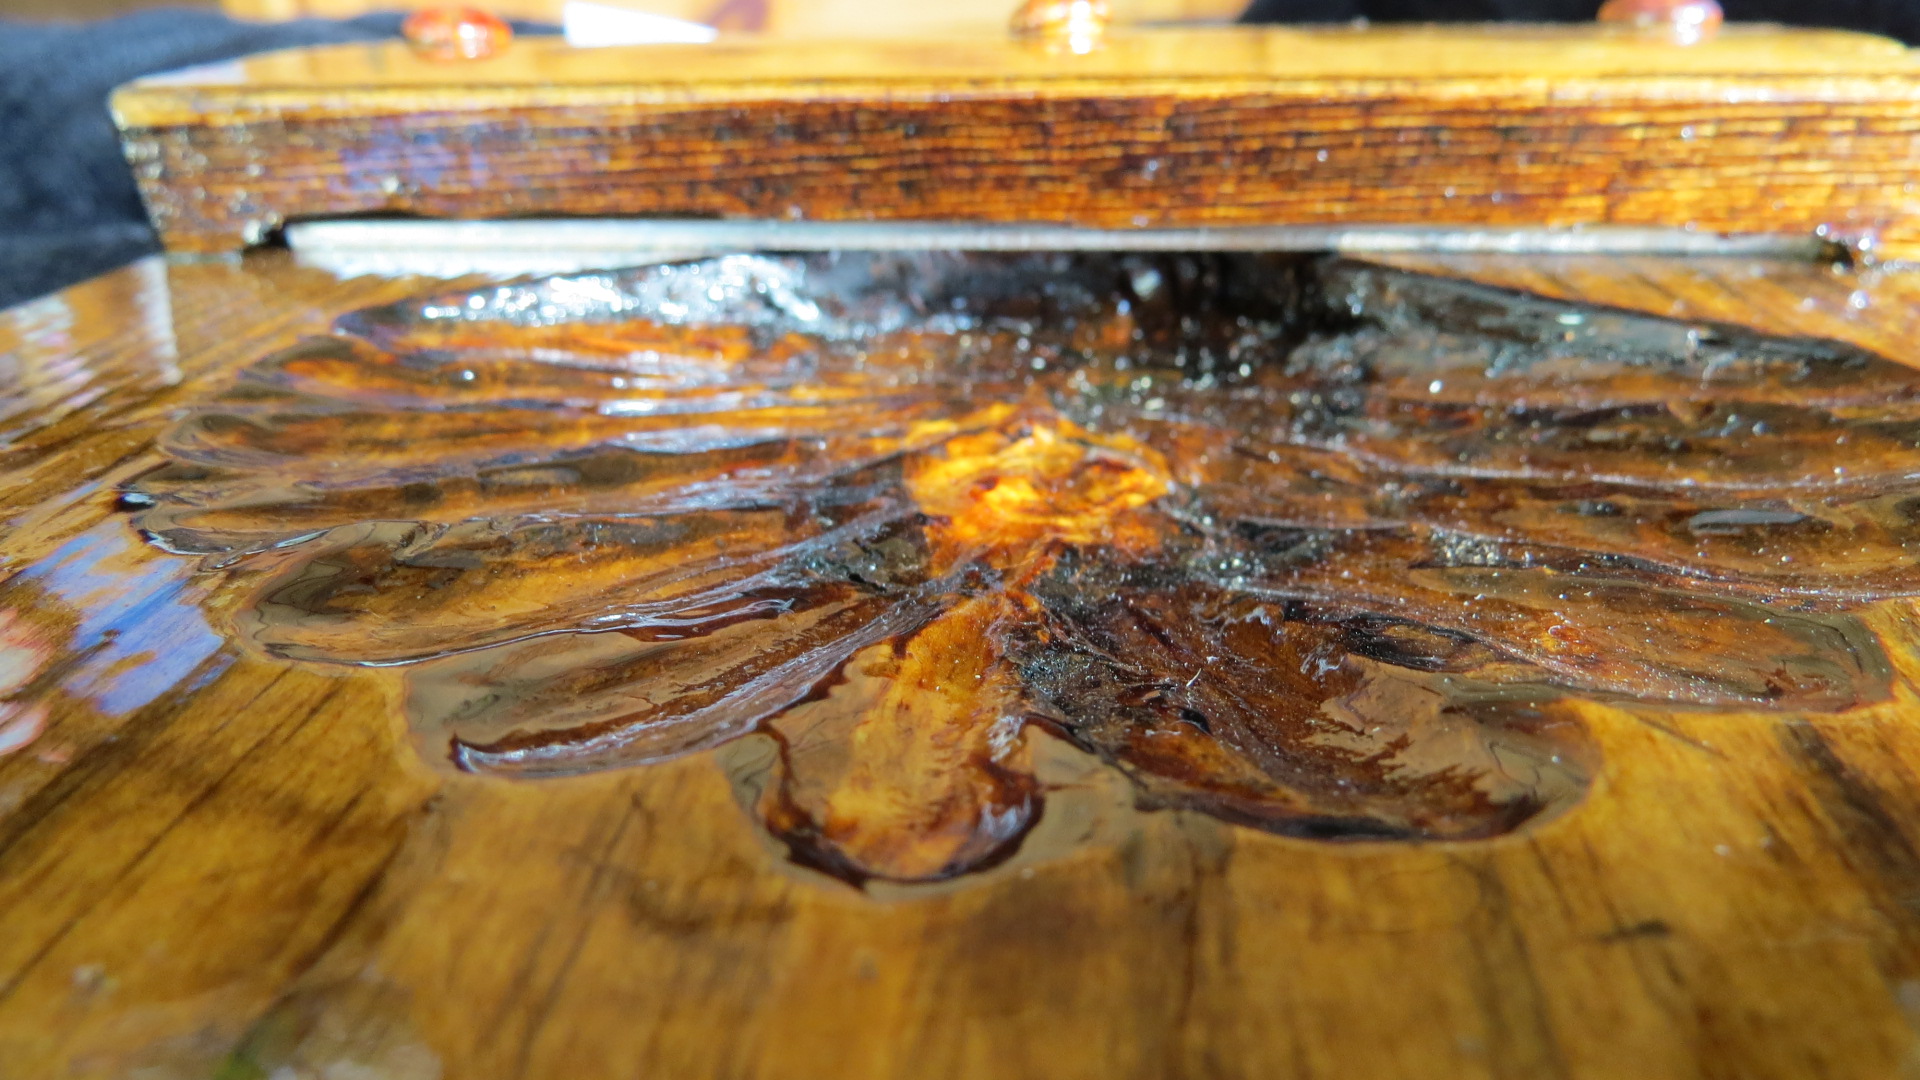
Note the reinforced lip to secure you oyster in place during the shucking process. The carved shell will catch the oyster juice too!

The end board acts to secure the oyster in place while catching the juices keeping your surface clean.

Leverage your weight on the oyster and go!
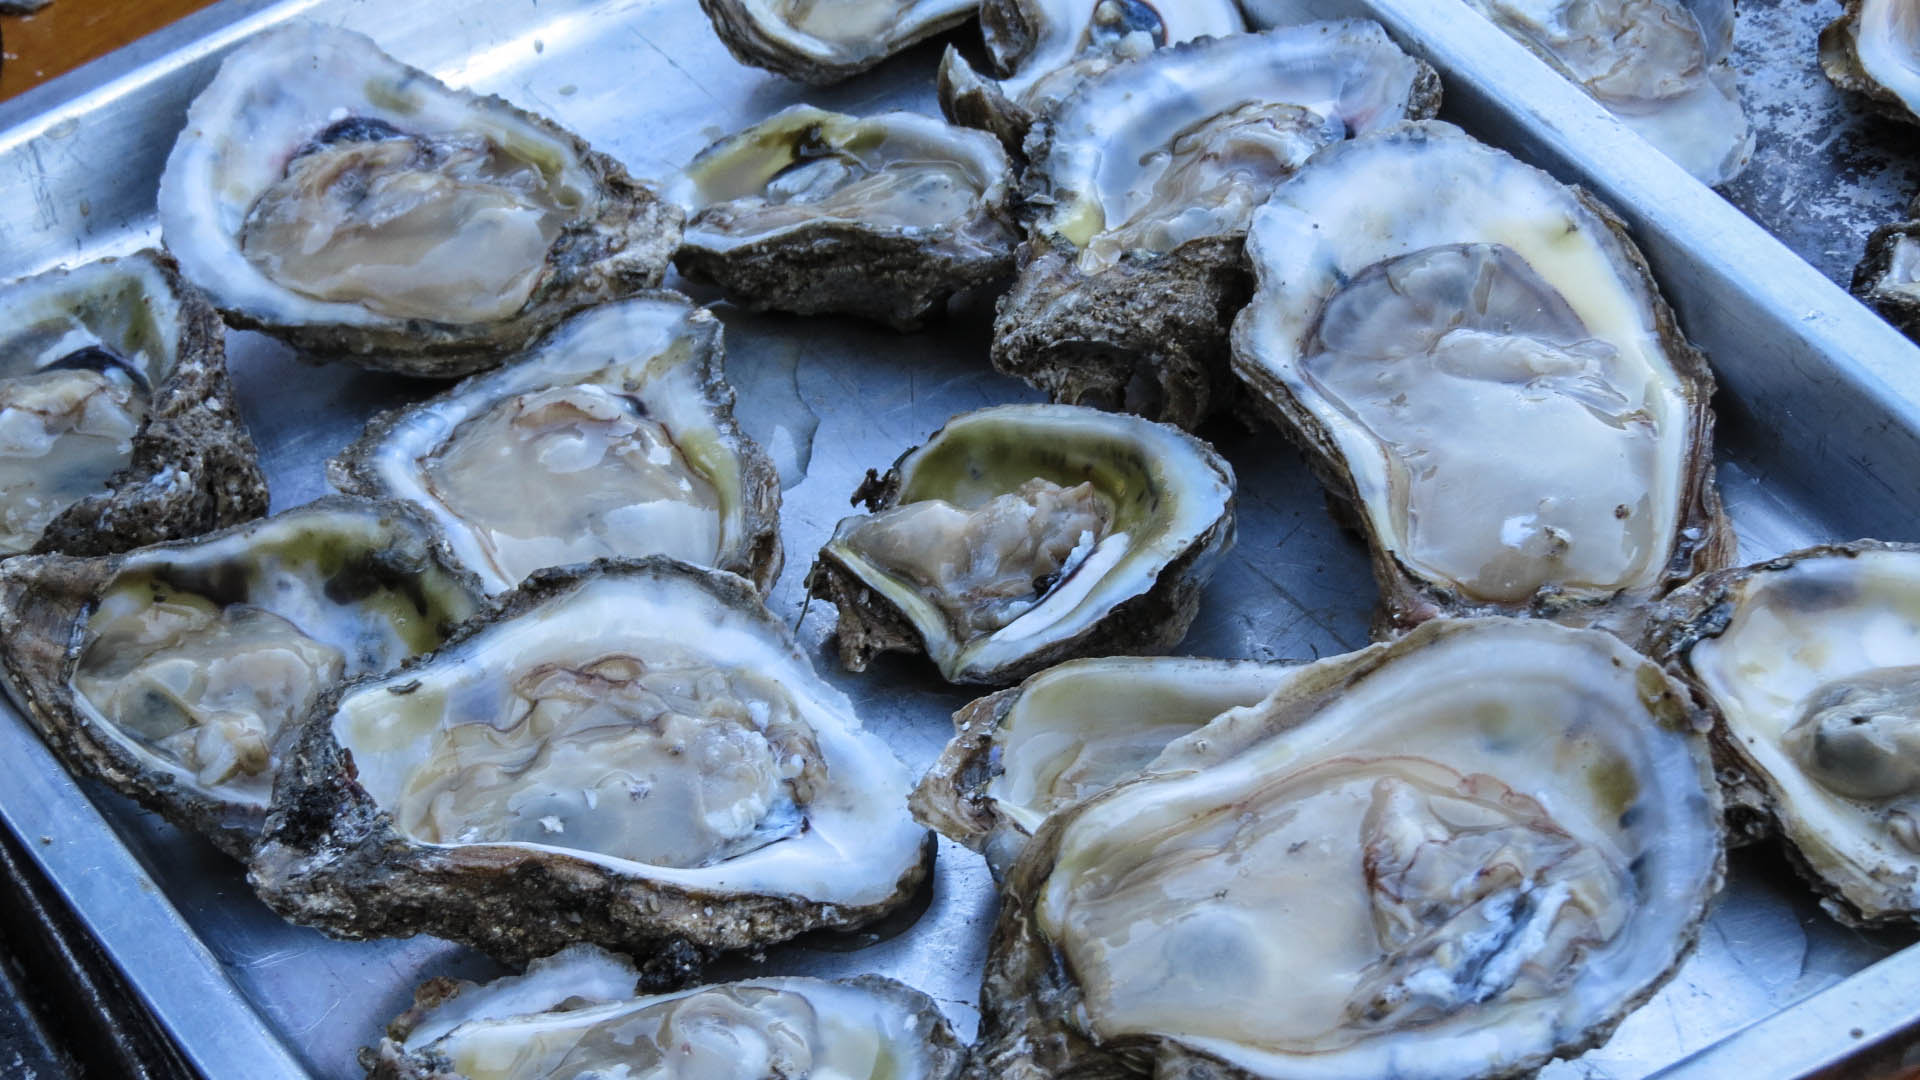
Ah…hard work pays off!
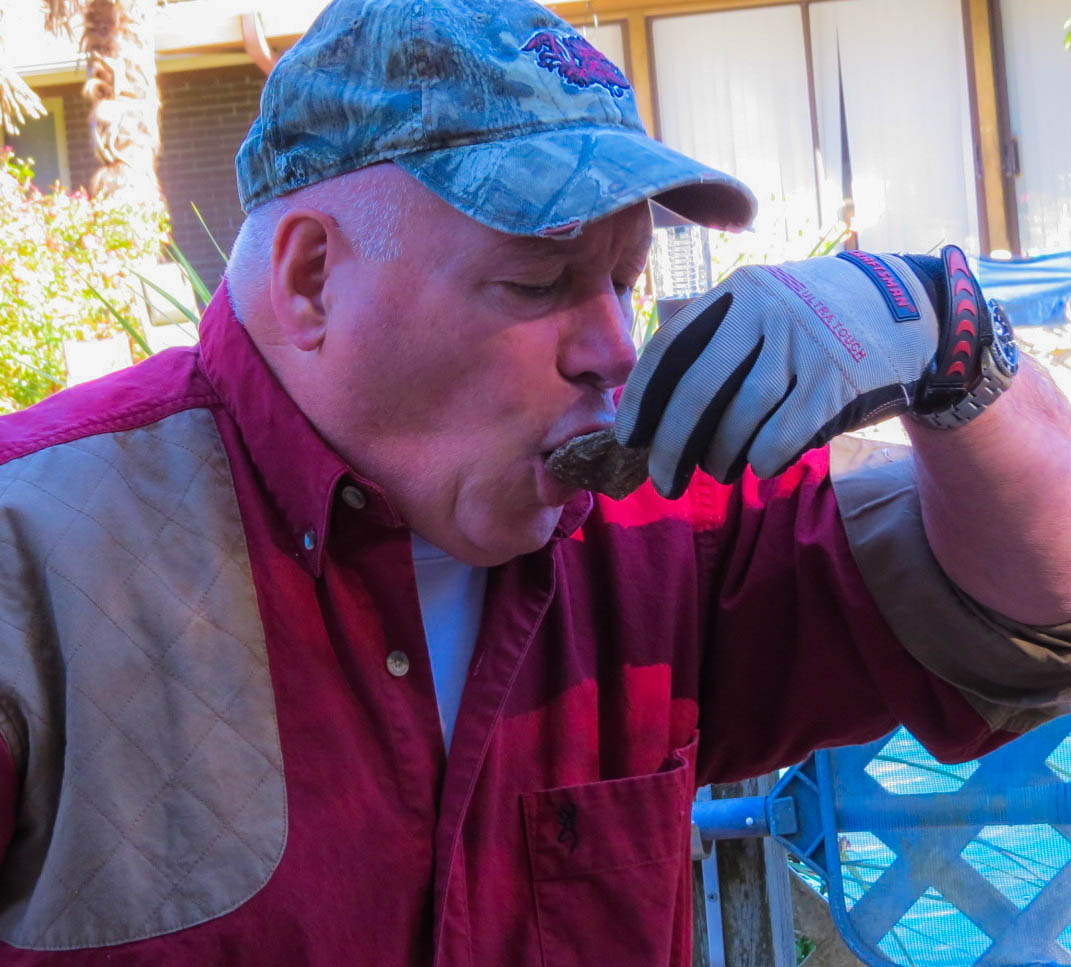
“Mmm, Mmm, good!”

Pingback: Oyster Lover’s Unite | Hal "Gonzo" Gonzales, Jr. - "The Knifemaker"
Pingback: Make Your Own Oyster Po’ Boys! | Hal "Gonzo" Gonzales, Jr. - "The Knifemaker"
Pingback: Discover Your Pearl! | Hal "Gonzo" Gonzales, Jr. - "The Knifemaker"
Pingback: Gonzo’s Fried Oysters | Hal "Gonzo" Gonzales, Jr. - "The Knifemaker"
Pingback: Warm Up and Slim Down with Soup – Elegant Oyster Soup | Hal "Gonzo" Gonzales, Jr. - "The Knifemaker"
Pingback: “The Shell” Oyster Shucking Board – Great Tool for Your Oysterfest! | Hal "Gonzo" Gonzales, Jr. - "The Knifemaker"
How do I get one of your shucking boards
LikeLike