 Working with a forge is hard work yet rewarding. Here are a few steps I follow when creating my knives.
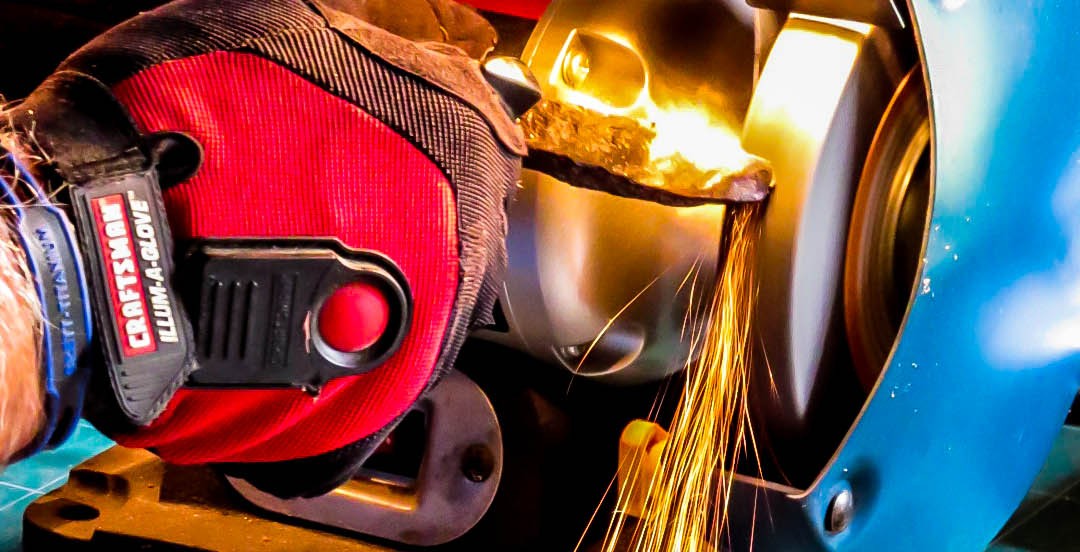
Heat the metal in the forge. Check the color when heated. Forge the blade to a point so that the flat side will be your blade edge and the curved side will be your spine when finished. Leave room for a tang if needed (the part in the handle -leave about two inches or more on one end.) Establish a blade, by repeating rows of small taps with a three pound sledge (best weight will depend on your size and strength) in long rows up the blade, narrowing the steel making the distal taper. Work on both sides of the blade to prevent it from distorting. Hammer out the flat side to make the bevels. Remember, when it is a rough blade shape, you can anneal it by bringing it to this red  hot nonmagnetic temperature three times and letting it air cool till all the red is gone. After the third heating, let it cool in the fire overnight. Cooling it very slowly will make it softer, easier to file. Bring back to nonmagnetic and dip in a vat of oil to harden the blade, (there are oil, water, and air hardening steels). Dipping only the cutting edge will provide a hard durable cutting edge but leave the back flexible, thereby increasing the overall durability of the blade. Only dip the metal vertically, any other angle besides being a few degrees off will create bubbles around the metal, causing warping and you to have to re-forge. To keep the knife clean, wash down with soap, dry quickly and apply coat of olive oil. Interested in a knife? Contact me at 51gonzo46@gmail.com. Click here for more information about railroad spike knives – https://halgonzalesjr.com/oyster-knives/ or https://halgonzalesjr.com/specialty-knives/.


