Start with fresh raw oysters for shucking.
Click on images to enlarge view.
 The main reason for shucking oysters is to eat them raw. You want very fresh, live, fabulous oysters if that’s your plan. Luckily, oysters are fairly cooperative on that front as long as you keep them cold and don’t suffocate them in plastic. I like to buy oysters the day I’m going to shuck them, but that’s mainly a storage issue. There is no reason not to buy them a day or two ahead if that’s more convenient.
You can shuck any kind you like or are at your market.
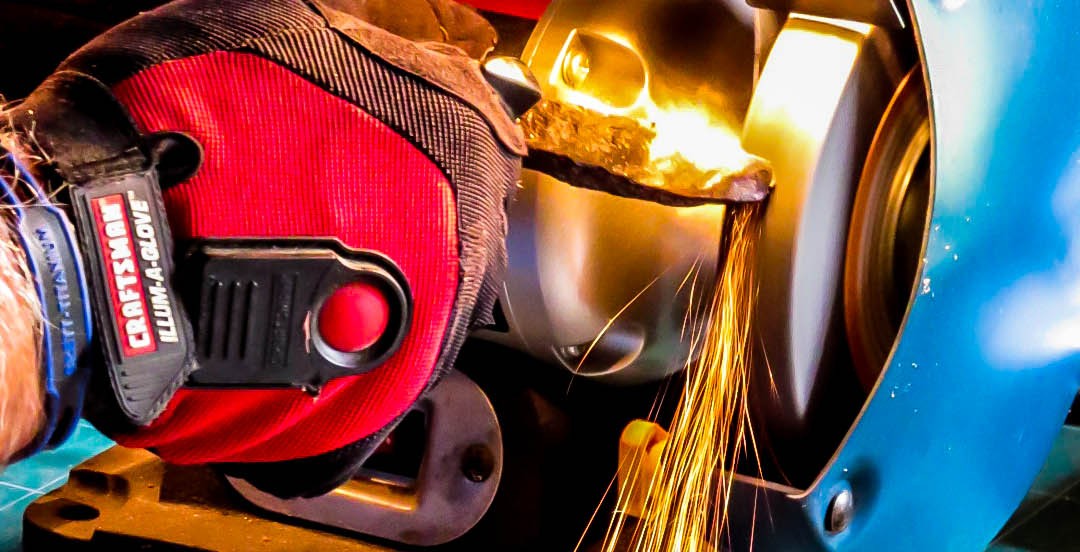
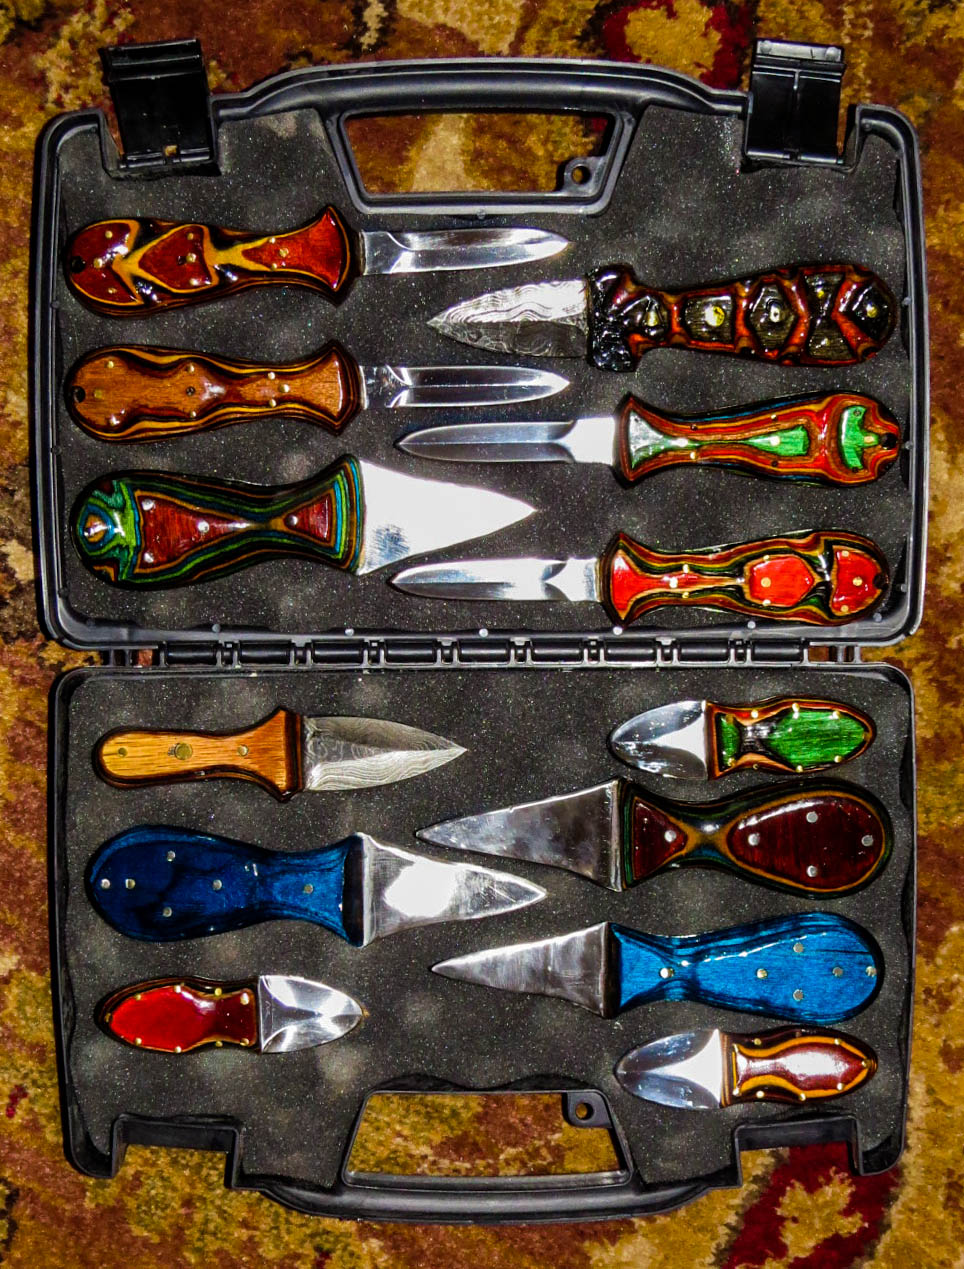
Along with the oysters, you will also need a short knife or other thin-edged instrument. See the many selection of oyster knives I created to find just the right fit. I my knives in these pictures. You want something with a thin edge that you can work between the shells, but that is also strong enough to use to pry open the shells. Most people will also want something with which to hold the oyster (those shells can get sharp). A rag or kitchen towel or oven mitt are all good options, just note that whatever you use will get pretty darn acquainted with oyster shell and oyster juices (or oyster liquor) and may never truly be the same.
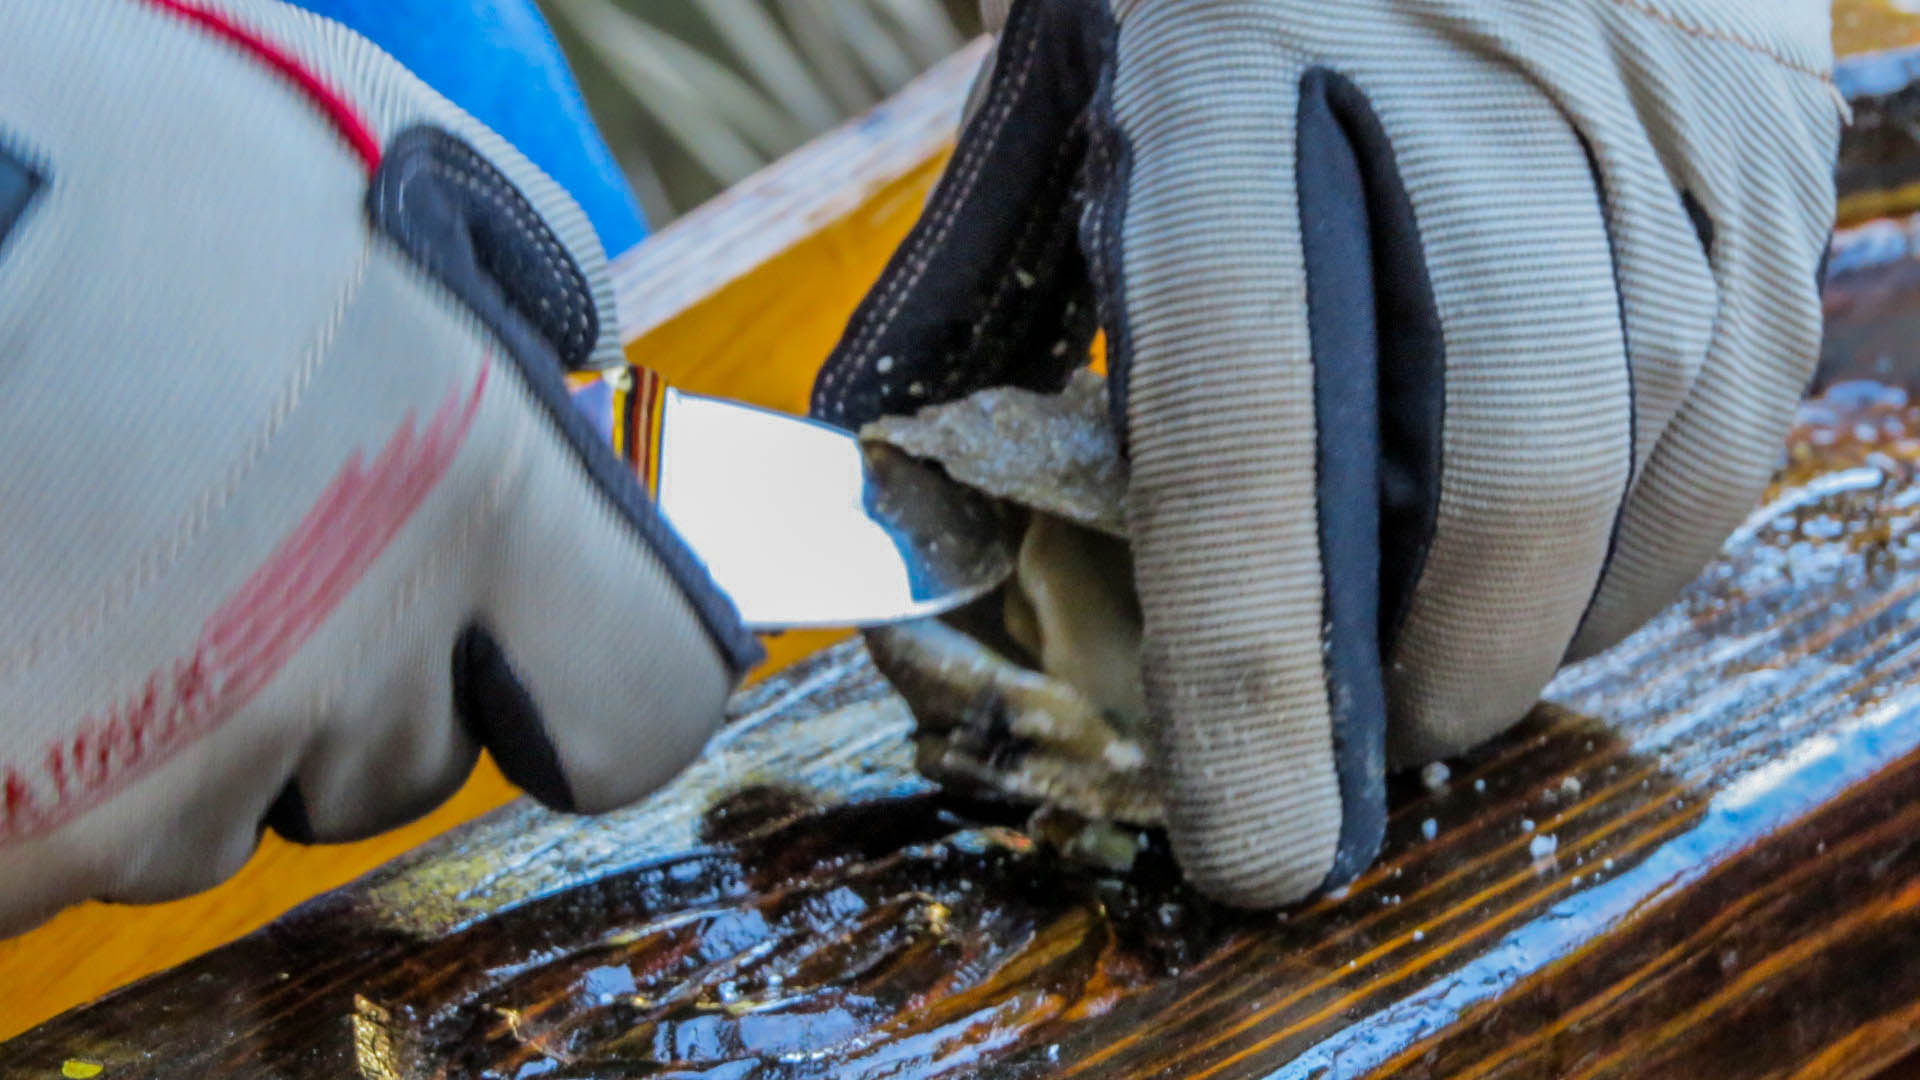
Set your oyster on the shucking board and insert the knife between the shells.
 You may prefer, as I do, to set the oyster on a shucking board to hold it steady. Insert the knife as pictured here. Look at the oyster. The vast majority of oysters are going to have a cupped side and a flatter side. Hold the oyster with the flatter side up. The cupped side will hold the oyster and its liquid while you shuck.
Now look for the hinge – that point where the shells are joined in a more serious way that just being held together by the muscle that is the oyster. Some people jab the knife in right at the hinge (as pictured here). I find it easier to insert the knife between the shells near the hinge (see the next step).
Pop the hinge.
 Having noticed where the hinge is located will now come in handy. Whether you inserted the knife at the hinge or near it, get the knife into the hinge and “pop” it open by twisting the knife blade. Sometimes just twisting the knife after you put it in between the shells will do it, other oysters are more stubborn and you’ll need to work the knife fairly far in to be able to angle the knife (or screwdriver) to be able to get enough leverage to “pop” that hinge.
Note: I’m holding the oyster at that angle for the sake of the picture. Normally, I keep it as flat as possible to avoid spilling out too much of the oyster liquor inside.
Slide the knife between the shells.
 Once you’ve popped the hinge open, slide the knife between the shells, keeping it along the bottom of the top shell – you don’t want to mangle the oyster! Most of this sliding will be very easy, but the point where the oyster is attached to the top shell will provide some resistance you’ll need to cut through.
Take off the top shell and cut the oyster from the bottom shell.
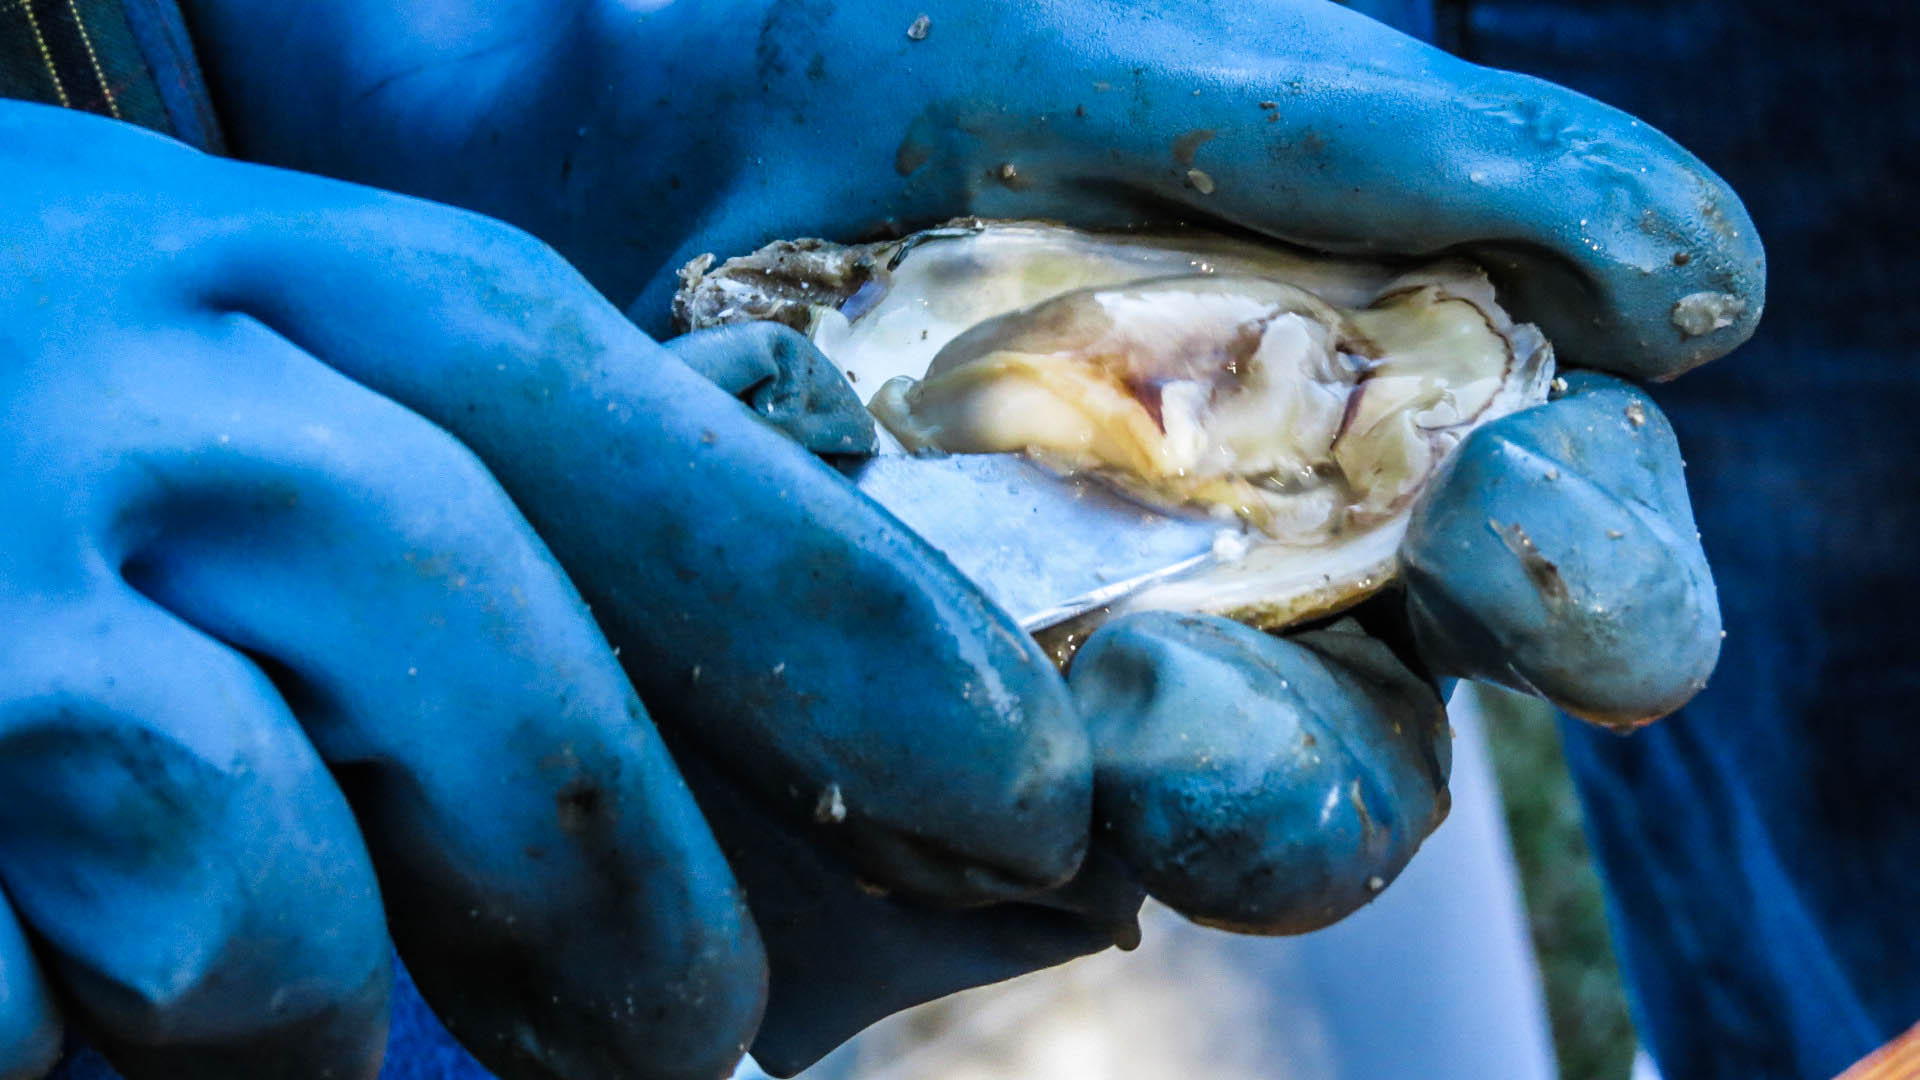 You’ve now separated the two shells that house the oyster. Remove the top shell (if there is a lot of oyster attached to it, use the knife to cut (or, really, scrape) if off. This is an optional step, but one that is kind to the eaters. Use the shucking knife or a sharp paring knife to cut along the bottom shell to make sure the oyster is free and clear of that shell too.
Note all the liquid in the shell above. That’s oyster liquor and you want to keep as much of it in the shell as possible. It’s delicious.
Repeat and serve.
 You’ll want to serve oysters as soon after shucking them as possible. I like to keep them cold by setting them on a tray of crushed ice.
I like my oysters plain, with tabasco sauce, or with a simple squirt of lemon juice. Plenty of people like Tabasco or cocktail sauce. Or, check out these Delicious Sauces for Oysters on the Half Shell and Raw Oyster Toppers.
Source: Molly Watson, Local Foods Expert, About Food
For information about the oyster knives and shucking board or the Ulu knives, contact Gonzo at 51gonzo46@gmail.com
